Fall into a Quilt Along: Bonfire
Welcome back to Fall into a Quilt Along! If you've been thinking about joining, you're not too far behind! This week is block 3. My quilt along page has all of the information you need. I keep it updated, so it's a handy reference for all of the past blocks.
I just love this week's block by Sherry Shish at Powered by Quilting. I've always been fascinated by fire. Watching the flames dance around the logs is truly mesmerizing. And sitting around a bonfire talking late into the night is one of my very favorite things.
Click here for Sherry's post with the bonfire block pattern. All Fall into a Quilt Along patterns will be free until November 13, 2018.
Tips for Success
I'm a fan of conserving my fusible web as much as possible. I draw the pieces close together, and when possible, I draw them inside of one another. I also label each of the pieces so I can easily keep track of them.
Before fusing the pieces to my fabric, I cut out the centers of all of the bigger pieces. This helps keep the block from getting stiff where pieces overlap. Just make sure you have at least 1/2" of fusible around the edges.
The easiest way to remove the paper from the back of your fabric is to score it with a pin. Fold along the score line, and the paper will pop right off.
There's quite a few little pieces in this block, so trying to place all of them at once is pretty fiddly. I found it was a lot easier to pull out my Teflon pressing sheet and work in sections. I fused the orange centers onto the flames and the lighter ends onto the logs. Then I placed the flames and logs the way I wanted them and fused it into one big piece.
Once my fire was a single piece, I could easily center it on my background fabric and fuse it in place. If you don't have a Teflon pressing sheet, you can do the same thing with parchment paper.

I decided to stitch around the applique before trimming down the center and finishing the block. I liked having less fabric to maneuver as I was stitching. Since I waited to trim the center, any distortion the stitching caused wouldn't affect my final block.
Once my center was stitched, all that was left was to trim and sew it into the block. I'm really loving how it came out. I think my favorite thing about it is how the orange fabric looks like sparks are flying up. It has me thinking that it's about time for a bonfire with friends.
Flying Geese Tutorial - Using the Easy Angle and Companion Angle Rulers
My very favorite way to make flying geese is by using the Easy Angle and Companion Angle rulers. Since it uses less fabric than other methods. I was able to get away with using the single strip of red that I had available. The rulers are pretty slippery, so I put clear bumpy bandage tape on the backs of them.
Cutting the Goose Bodies
Cut a 2 1/2" strip of background fabric for the goose bodies. Make sure the 2 1/2" line on your ruler is on the fabric (rather than the edge of the line touching the fabric but the line itself on the cutting mat). The strip needs to be at least 28" long.
To speed up your cutting, fold the strip in half as shown.
Line up the blunt tip of the Companion Angle ruler with the top of your strip. The 2 1/2" line on the ruler should be slightly above the bottom edge of the fabric. Make sure this line is straight and that it doesn't hang off the left side of your strip.
Cut along both sides of the Companion Angle ruler. The small triangle scrap on the left can be discarded.
Rotate the ruler so the left side is lined up with the newly cut left edge of the fabric, and the blunt tip is lined up with the bottom of the strip. Cut along the right edge of the ruler.
Continue cutting until you have 8 goose bodies.
Cutting the Goose Wings
Cut a 2 1/2" strip of accent fabric for the goose wings. Once again, make sure the 2 1/2" line on your ruler is on the fabric when you cut. The strip needs to be at least 37" long.
Fold the strip in half wrong sides together as shown.
Note - If your fabric has a right and wrong side, it is essential that the strip is folded in half to produce mirror image wing pieces.
Remove the selvedge and square up the left end of your folded strip. Line up the Easy Angle ruler with the left and top edges of the fabric. Cut along the right edge of the ruler.
Rotate the Easy Angle ruler so the angled side is lined up with the newly cut left edge of the fabric, and the blunt tip is lined up with the bottom of the strip. Cut along the right edge of the ruler.
Continue cutting until you have 8 pairs of wings.
Since we cut with our strip folded wrong sides together, each pair of triangles produces mirror image wings for our flying geese.
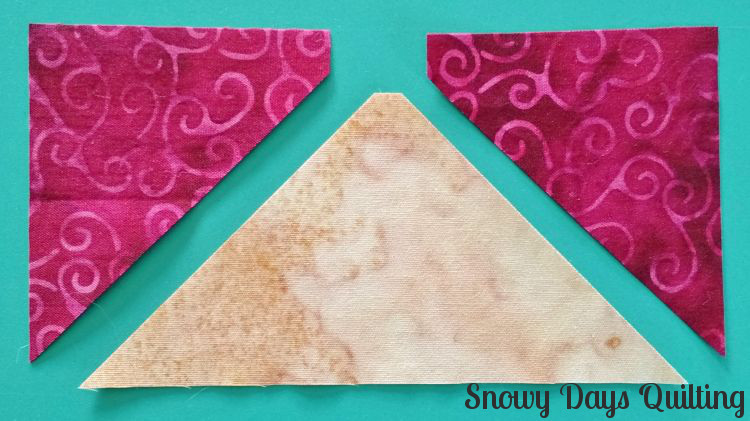
At this point, go ahead and cut the 4 - 2 1/2" squares that you need for the corners of your bonfire block. Set these aside.
Sewing the Geese
I recommend starting with a single goose to make sure it comes out right. Once you are satisfied with your results, the rest of the flying geese can be chain pieced. You will need one background triangle, and a pair of mirror image accent triangles to make one goose.
Line up the right wing triangle along the right side of the background triangle, right sides together. The blunt tip of the wing triangle will extend slightly to the left of the background triangle.
Sew with a scant 1/4" seam. I find that I need a scanter than usual seam allowance when sewing these units.
Notice that the thread doesn't reach all the way to the leftmost point of the accent fabric. This is expected.
Finger press only towards the accent fabric. Pressing with an iron before both sides are sewn tends to distort the unit.
Notice that a small point of fabric extends past the left side of the background triangle. Snip this with scissors so you have a straight edge to line up with your next piece.
Line up the other wing triangle right sides together with the left edge of the background triangle.
Sew with a scant 1/4" seam allowance and press with a dry iron towards the background triangle. Be careful not to slide the iron on the fabric so as not to stretch the bias edges.
Measure your completed goose to be sure it's the right size. It should be 2 1/2" by 4 1/2".
Trim the dog ears, and your first goose is finished!
If you're happy with how your goose came out, now is the perfect time to chain piece. Follow the same steps to make the remaining 7 flying geese.
Inspiration Abounds
Fall into a Quilt Along has 7 hosts. We're all making every block and providing tips for success. Each of our bonfires is different, so be sure to check out all of the hosts' posts for inspiration overload.
Abbie Danahy at Sparkle On
April Adams at JANDA Bend Quilts
Bobbi Bridgeman at Snowy Days Quilting <--- That's me!
Jennifer Fulton at Inquiring Quilter
Karen Thurn at Tu-Na Quilts, Travels, and Eats
Sherry Shish at Powered by Quilting
Vanda Chittenden at Quilting with Vanda
Prizes
As always, we have some fabulous prizes this week. Anyone over 18 is eligible to win, including international participants. To be entered in the drawing, simply share your completed bonfire block by 11:59 pm Eastern time on June 25, 2018. You can share on Instagram with the hashtag #fallintoaqal, in the Partners in Design Facebook group, or in the linky party on Sherry's post.
Our prize sponsors this week are Sherry Shish at Powered by Quilting and Dritz. Sherry is donating a free pattern from her store. Dritz donated a Seam-Fix double sided seam ripper, and an Omnigrid 4 1/2" square ruler.
At the end of the quilt along, we will have a grand prize drawing for anyone that has made a complete quilt top with all 12 blocks. There's no need to have it quilted for the drawing. To be eligible to win, finished quilt tops must be posted by 11:59 pm Eastern time on November 12, 2018.
Question for You
Bonfires are one of my favorite parts of fall. I love sitting around and talking with friends late into the night while watching the fire burn.
What about you? Do you have fond memories around a campfire? I'd love to hear about them.

I'm liking up with:
Main Crush Monday
Chameleon's Colors