Organizing Quilt Projects with Trello
A friend recently mentioned that she’s been keeping track of her quilt projects with Trello. As I’ve been feeling increasingly overwhelmed by my own myriad of projects, my interest was piqued. I decided to give it a try, and I really like it! Trello is a great way to see everything I have in flight, along with how much progress I’ve made on each item.
Since it’s a free app, I thought I’d share how I’ve been using it. Maybe this will inspire a few of you to organize your own project lists. They aren’t sponsoring me to write this - I just really like the app.
Boards
The topmost level of organization is Boards. This is where I put my broad categories.
Lists
If you open a Board, you see lists. My quilting board has 5 lists:
On Deck (6) - These are the projects that are in the planning phase. It includes baby quilts that need to be started soon, quilts that I have a pattern or fabric already chosen, and quilts that I’m actively collecting fabric for.
WIP (15) - These are my Works In Progress. A quilt moves to this category once I’ve started actually working on it, beyond just collecting fabric. This includes projects that have stalled.
Ready to Photograph (11) - The quilt is finished! Now I just need to take it out for a photo shoot.
Ready to Blog (14) - I’ve taken the pictures, and possibly already given the quilt away. All that’s left is to cull and edit the photos, then write a blog post.
Done - I don’t count a project completely finished until I’ve shared it here. I didn’t go back to make a list of past quilts, so this board is empty for now.
I admit that I’m a little bit abashed to be so far behind, but I’m excited to start making a dent in these lists. It’s helpful to know exactly where I stand, and it’s going to feel really good to see the progress as I move the projects along.
Labels
I’m using labels as an easy way to see my progress on each quilt at a glance. Each of the colorful rectangles represents a step in the quilt-making process. If I open a specific project, I can read which labels I’ve selected. For instance, this disappearing nine patch is ready for quilting.
If I tap on the labels, I can see all of the labels that I’ve set up for my Quilting Board. This is also where I can add or remove labels from a specific project. Here you see a checkmark by each of the labels that were visible in the photo above. Since the labels are set up for each Board, all of my quilting projects automatically have the same list to choose from.
Checklists
Another way to keep track of steps is with checklists. I use checklists on my Crafts Board since each craft project follows a different process. You can see at a glance how many items you’ve completed. For example, I’ve finished 1 of 3 steps for my weighted blanket. Also notice that if you turn your phone sideways, you can see two lists at once!
If I open the Card for that project, I can see what the steps are. I can also copy this checklist so I don’t have to write it all out from scratch if another project needs the same steps.
Pictures
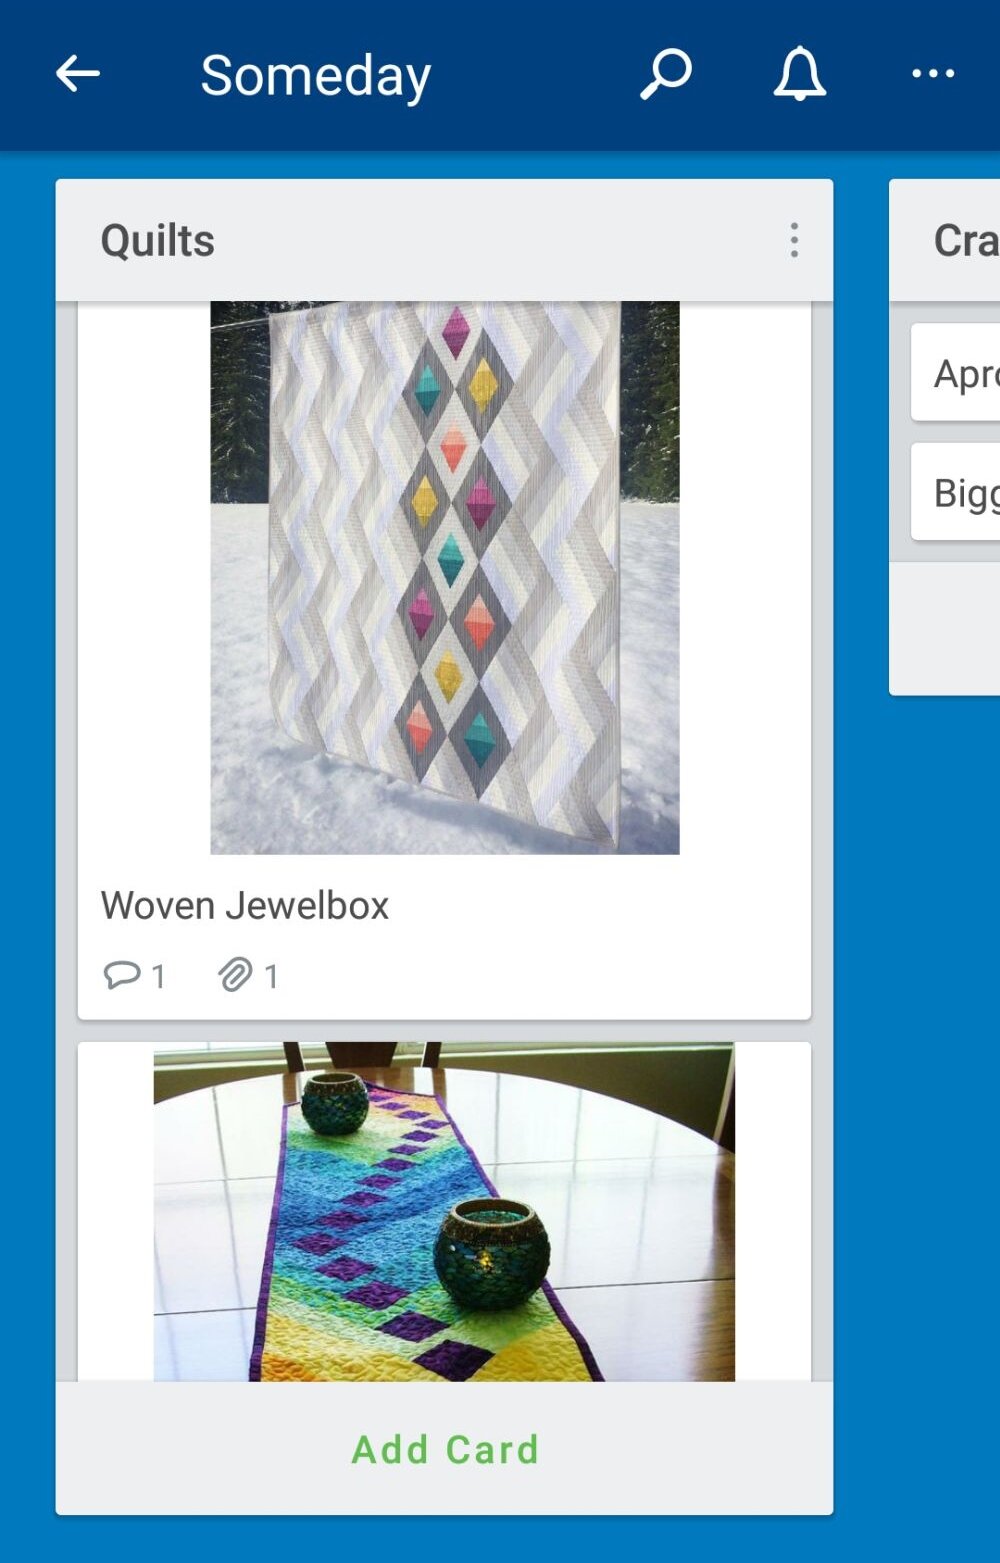
One other feature that I love is the ability to see a picture right in the list. I’ve taken full advantage of this with my Someday board. This is where I keep ideas I’d love to get to eventually, but that haven’t made it up the priority list.
The little speech bubble under the picture indicates that I’ve left a comment on that item. A comment is a great place for any additional information you’d like to have handy - the name of the pattern designer, a note about colors you’d like to use, or anything else you’d like to remember.